Inside: Looking to deepen your students's knowledge of heat transfer in the atmosphere? Encourage higher-level thinking with this activity!
Showing Middle School Students Heat Transfer
I love teaching heat transfer stations! This is a great way to show students how science works in the real world. It is also a convenient strategy to get kids into higher-order thinking. Stay with me and I’ll explain.
This station activity works well when students have already learned the basics behind heat transfer and are now ready to apply their knowledge. Background for the reader: Heat is energy and transfers from warm to cold until the two objects are the same temperature. There are three methods of heat transfer: conduction, convection and radiation.
Conduction – Heat transfer through solids by direct contact.
Convection – Heat transfer through liquids and gases by circulation.
Radiation – Heat transfer as an electromagnetic wave.

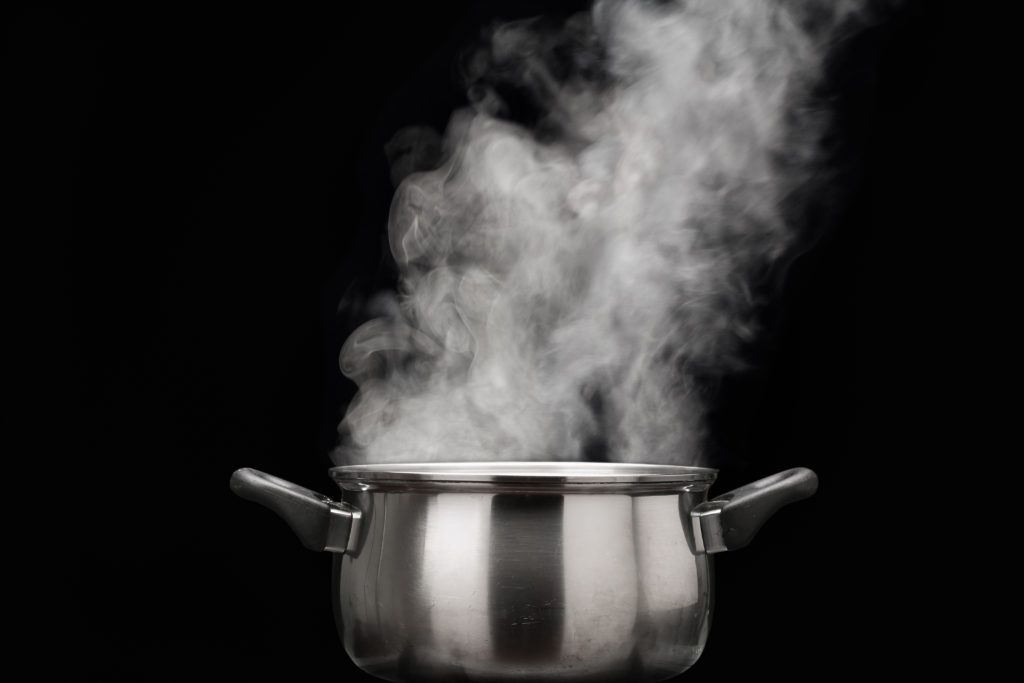
An easy way to show all three at once is by using a hot plate with a pot of water and some noodles. The hot plate will get hot (radiation), that will heat the pot causing conduction, this will lead to the water moving around and causing convection. The noodle will be the visible evidence the water is moving.

I’m a middle school Science teacher and TPT author. My goal is to share useful resources to make your life easier.
Do you want science freebies, tips and survival techniques? To start you out, you will receive a HUGE planets lesson!
Heating of Earth's Atmosphere
When introducing this topic I use the above demonstration of a pot of water on a hotplate. By sixth grade, most of my students have experienced making themselves a simple meal and can relate with this type of energy transfer. I also use the lesson on the left.
This lesson introduces the concept of conduction, convection and radiation with both color and black and white pictures. It also explains what the greenhouse effect is and why it is important on Earth.
I love using both digital and print lessons. The digital lesson offers my students a color copy of the lesson that they cannot lose. The print version offers them a copy they can take notes on. I definitely use both copies.
After we are finished with this lesson, I then introduce the stations to my students.
Now that my students are familiar with the methods of heat transfer, it is time to apply what they have learned. Take these heat transfer pictures and place them all around the classroom.
I like to tape them to walls or cabinets. That way the students have to look at the scene without handling the paper. I feel it extends the life of the papers.
Place students in groups of two or three, so they can discuss the scenes. Before starting, I let my class know that they will have a minute and a half to determine the answer and then write down their defense. You will know after a few rotations if that time works for your students or not.
This heat transfer worksheet is what students use to write down their answers. Before starting the heat transfer stations, students were instructed to write the definitions of conduction, convection and radiation on the tops of their lab sheets.
I like to listen to the groups of students debate with each other which method of heat transfer they think it is while they are working. I make it a point to tell them that they can disagree with their partner. Usually, one student winds up convincing the others of their answer.
Determining the answer is the easy part. The difficult part is defending their answer. They have to explain why they chose that answer. That applies a high order thinking skill than just listing the method of heat transfer.
I have been witness to some very heated debates over who is correct in some situations.
Now What?
When all groups have finished, it is time to go over the answers with the class. Now students can defend their answer in front of the class. I like to treat it a bit like a debate. Often, I will accept two answers as long as they can give a valid reason.
I’d love to share this resource with you. Please click on the picture to check it out. Let me know what you think!

Hey Science Teacher! Want a FREE Lesson?

10 Tips for Teaching the Day After Winter Break – Middle School Edition

6 Ways This Moon Phases Review Game Will Make Your Life Easier

Unleash Their Inner Detective: How Back to School Escape Rooms Ignite Teamwork!

12 Fun Earth Day Activities to do With Middle Schoolers

Alarmingly Simple Layers of the Sun Lesson Plan Using Stations


