Inside: Your layers of the atmosphere lesson should be fun! Click here for tips and tricks to help your middle school students love learning about our atmosphere!
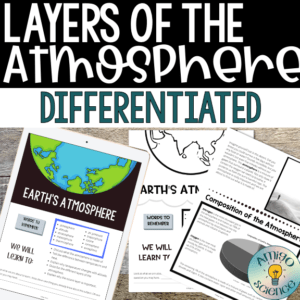
Science is something I am passionate about teaching. One of the first topics I teach my sixth graders is my layers of the atmosphere lesson. I designed this lesson to be used in coordination with their iPads as well as the printable version. This gives them the opportunity to view color diagrams but also to take notes and write on the printable version. Over time, I have added to this lesson, including vocabulary for my word wall, objectives to post on the board, a differentiated quiz, and much more.

Table of Contents - Click to Jump to Topic
What are the Layers of the Atmosphere?
To begin, our atmosphere consists of mostly nitrogen. In fact, 78% is nitrogen and oxygen only makes up 21%. The other 1% is for other gases such as carbon dioxide, water vapor, etc. Many students (and adults) often mistakingly think oxygen is the abundant gas in our atmosphere, which makes sense, since it is what we need to live.
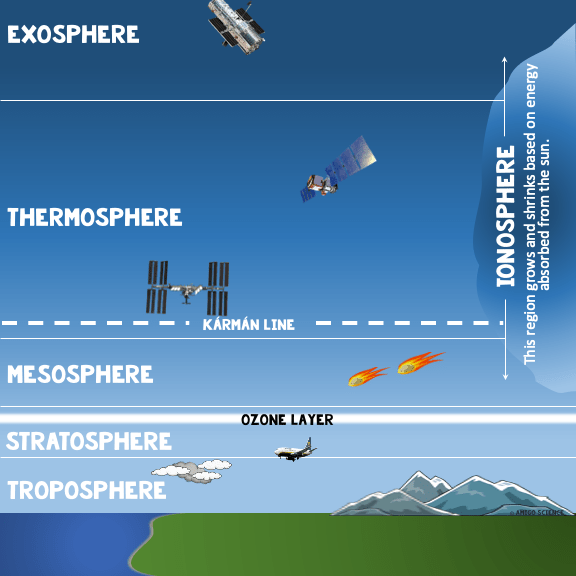
Troposphere: This is the bottom layer of the atmosphere and where we live. Many of us will live our entire lives here as there are no landforms tall enough to surpass this layer – thank goodness! This layer is where most of our weather forms, birds fly, and smaller planes fly. It is also the densest layer, due to Earth’s gravity pulling most of the molecules toward the surface.
Stratosphere: The next layer up, and not too much happens here. It is however, home to our extremely important ozone layer. Without the ozone layer, humans would have a very difficult time living on Earth.
Mesosphere: Even less of Earth’s atmosphere is located in this layer. This is the coldest layer, with temperatures unable to support human life. There are high wind storms here. Perhaps the most interesting feature is the mesosphere is where meteors burn up.
Ionosphere: Considered a sub-layer, this is where nitrogen and oxygen particles become electrically charged from the sun, turning them into ions. This is where the aurora borealis occurs. As you can see in the picture, this area grows and shrinks according to the amount of energy received from the sun.
Thermosphere: The International Space Station is in the thermosphere. Temperatures in this layer are extremely high. But oddly, there is not heat. While the particles in this layer have a high temperature, they need to bump into each other to create heat. Since there are so few of them, it rarely happens.
Exosphere: The final layer of the atmosphere. This is where several satellites are located. This is also where the famous Hubble Space Telescope is located.
Prepping for this Atmosphere Lesson
This lesson can be incredibly low prep. If desired, just upload the digital resource to your LMS and the lesson is ready.
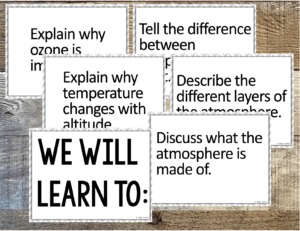
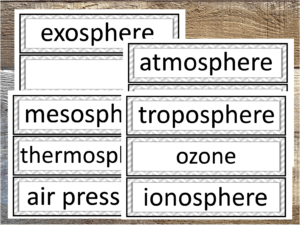
Otherwise, take a few minutes to print the objectives and vocabulary. This will provide a good visual for students throughout the lesson.
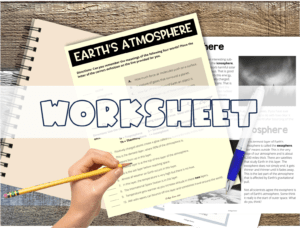
Also included in this lesson are printable notes sheets, vocabulary sheets and a worksheet. You may want to print these out beforehand as well.
Teaching the Atmosphere Lesson to Your Class
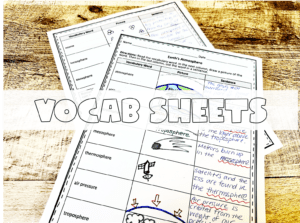
While we study vocabulary, this sheet is useful for reinforcing the terms included in this atmosphere lesson. Students are instructed to draw a picture of the word and also use it in a sentence.
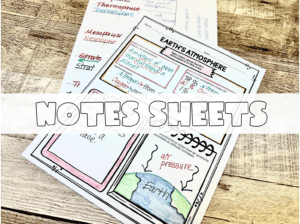
During the lesson, students are encouraged to use these sheets to take notes. We often stop and discuss what we thought were the important points we wrote down on our notes sheet.
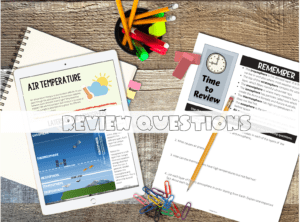
After reading the lesson, my students will then complete the review questions that are included with the main part of the lesson. These are differentiated to accommodate my students who may have difficulty with the concept.
This picture is an example of a student who may elect to use the digital resource along with the paper version of the review questions.
Once students have successfully answered the review questions, completed the notes sheet and vocabulary sheet, I am starting to get a good feel to how comfortable they are with this lesson.
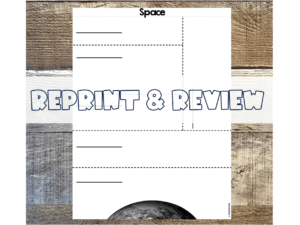
If students are still feeling a little shaky, I start over with the notes and put this sheet up on a document camera. I review the features of each layer. I even use this sheet to have students quiz each other in partners as a review of the lesson.
Videos to Supplement this Atmosphere Lesson
There are so many great videos to supplement your lessons. Here are a few:
- What is Earth Lost its Atmosphere? – I use this as my anticipatory set in order to show the importance of the atmosphere. I also make sure to emphasize that we will NOT lose our atmosphere. I don’t want my students to be afraid of the video.
- The Atmosphere for Kids – Short and to the point and also great for an anticipatory set.
- Layers of the Atmosphere – The video host speaks nice and slowly. This is a great video to add to your LMS and use for anyone who missed a lesson or needs a review.
- 25 Fact About Earth’s Atmosphere – This video is a little lengthy for me at 11 minutes. It is useful for independent viewing if you want to offer it for homework. Students can report on one of the facts of Earth’s atmosphere.
This lesson on the right has so many extras! Look at the list below:
- both PDF and PowerPoint resources. PowerPoints are easily converted to Google Slides in just a few clicks.
- color lesson perfect for your LMS. Students can never lose their work!
- printable lesson for handouts in class. Encourage students to take notes on it!
- notes sheet
- objectives
- vocabulary
- comprehension questions (differentiated)
- worksheet (differentiated)
- quiz in digital and print format (differentiated)
- lesson plan
- choice board to extend the activity
Layers of the Atmosphere Digital Resource
After making the last layers of the atmosphere lesson, I really wanted to make something that would incorporate their iPads. Something colorful that they could manipulate.
So it was time to make an interactive activity. I have to admit, I really REALLY loved creating this resource. I thought my students would like to take the objects and drag them to the correct layers of the atmosphere.
My goal was to have this be both a lesson and review. I was happy to see that my students referred back to the review slides if the were unsure where to place an item.
The video on the right is an example of this resource.
A Gamified Way to Teach the Layers of the Atmosphere!
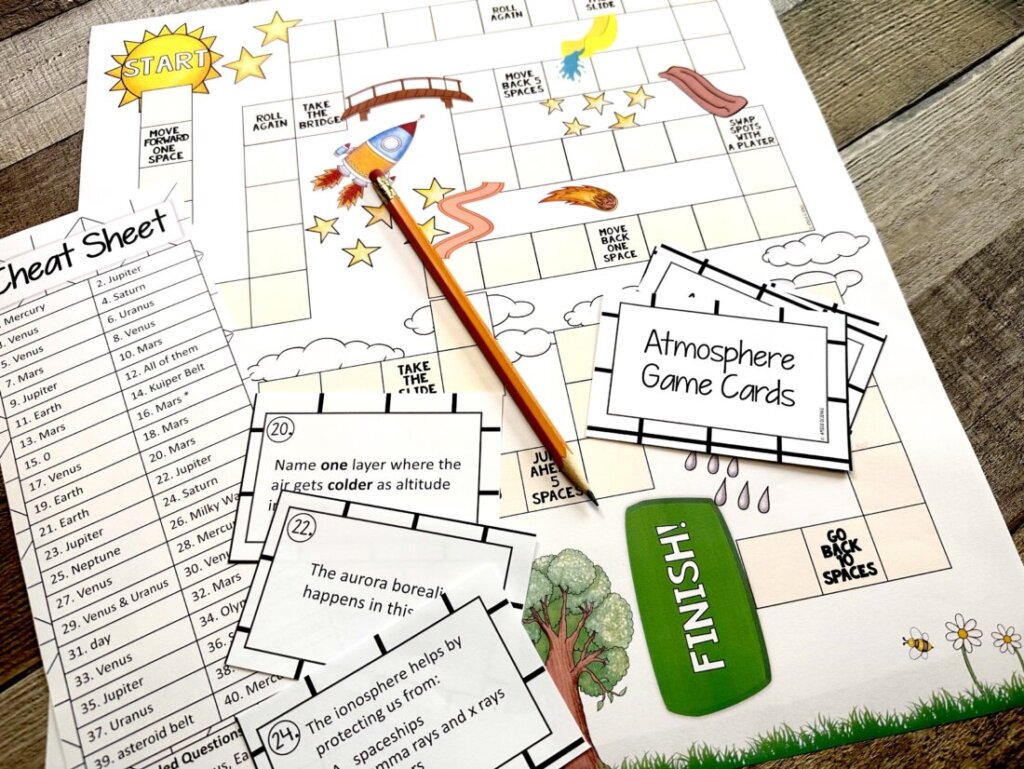
I gave my students with a fun review game to conclude our atmosphere lesson. This review game has a “Chutes and Ladders” feel to it, making it easy for the students to understand its directions.
During the game, students first pick a card and respond, and if correct, they are able to roll the die. If their answer is incorrect their turn is over. To make certain that both my gifted and struggling students had appropriately challenging questions, I mixed up the games with multiple choice and open ended games.
This board game was an exciting way to review the material before giving a quiz on the layers of the atmosphere.
I hope you enjoyed reading about how I teach the layers of the atmosphere. Please let in on your teacher secrets when teaching this subject! Check out below for other related blogs!

The Ultimate & Complete Clouds Lesson Plan is Here

Using Heat Transfer Stations in Your Classroom
This Severe Weather Lesson Plan Will Wow Your Students!
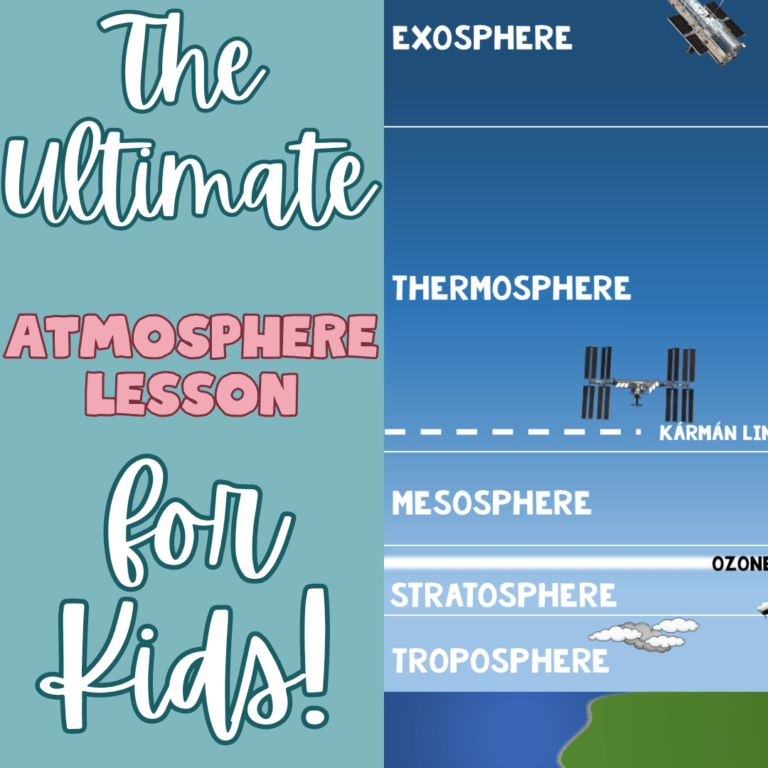
Ultimate Layers of the Atmosphere Lesson for Kids!
Best Guide for Teaching Weather Instruments and Their Uses



This was a very good post. Check out my web page YV6 for additional views concerning about Web Traffic.
An excellent read that will keep readers – particularly me – coming back for more! Also, I’d genuinely appreciate if you check my website UQ9 about Cosmetic Treatment. Thank you and best of luck!
Hey there, I love all the points you made on that topic. There is definitely a great deal to know about this subject, and with that said, feel free to visit my blog 81N to learn more about Cosmetics.